
Bike Maintenance Basics: Parts and Tools to Keep on Hand
Chain wear, brake pads, tires, cables and a small home tool kit: the bike maintenance basics that keep rides smooth, plus fall and winter riding tips.
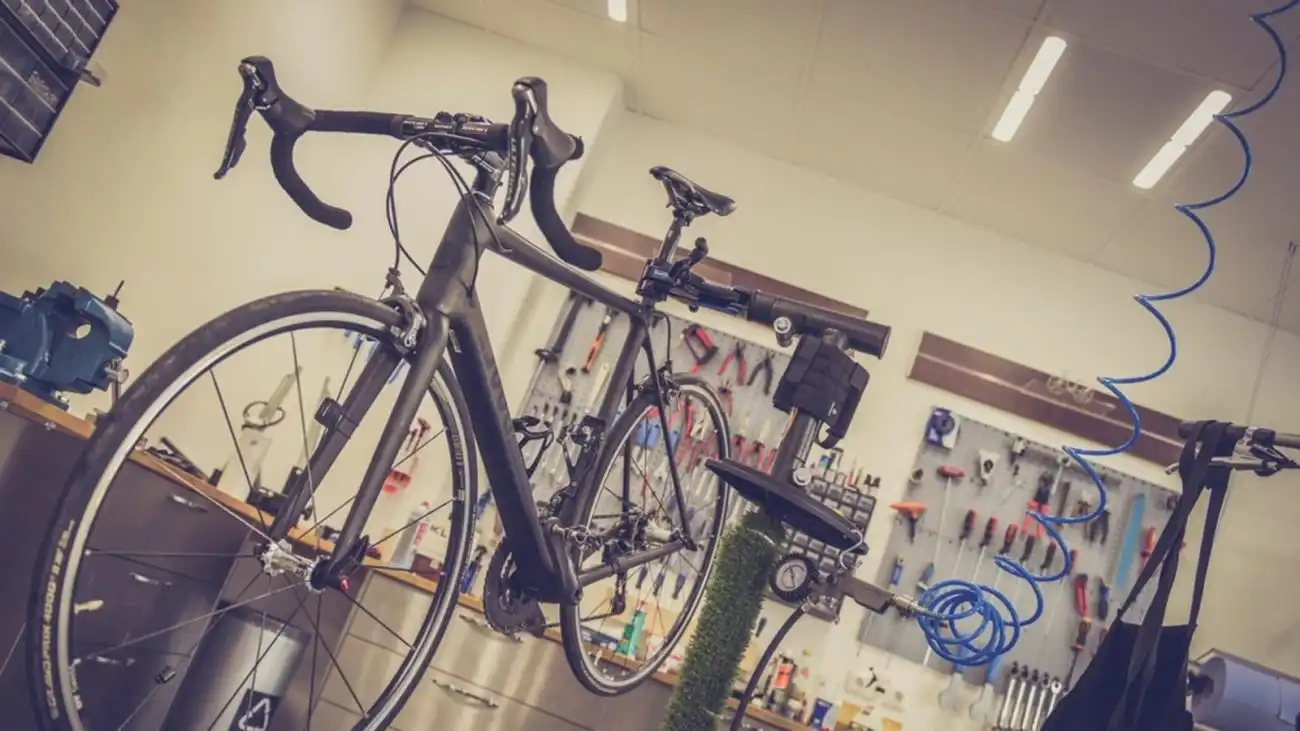
Quick answer
- Do a one-minute ABC check before each ride: air, brakes, chain and cranks, quick releases, then a slow test roll.
- Measure chain wear with a chain checker and replace the chain before it wears out your cassette and chainrings.
- Replace brake pads at the brake maker’s minimum thickness, and keep tire pressure inside the range printed on the sidewall and your rim’s limit.
- A floor pump with a gauge, hex keys, tire levers, a spare tube, chain lube and a chain checker cover most home jobs.
Most bike problems start small: a chain that’s a little dry, a brake pad that’s a little thin, a tire that’s a little soft. Catch them early and your bike stays quiet, shifts cleanly and stops the way it should. You don’t need a full workshop to do that. This guide covers the checks worth making, the parts that wear out, and a short list of tools to keep at home, plus what changes when the days get shorter and the roads get wet.
Start with the ABC Quick Check
The League of American Bicyclists teaches a simple pre-ride routine called the ABC Quick Check. It takes about a minute.
- A is for air. Check tire pressure with a gauge, and look over the tread and sidewalls for cuts or bulges.
- B is for brakes. Squeeze both levers. They should feel firm and stop well short of the handlebar, and the pads should not be worn down.
- C is for chain and cranks. Look for rust or built-up grime on the chain, and tug the crank arms sideways to make sure nothing is loose.
- Quick releases and thru-axles should be fully closed and tight.
- Check everything with a short, slow ride before you head out.
If something feels off, such as a spongy brake lever, a wobble or a noise you can’t place, fix it or have a bike shop look at it before you ride.
Chain care and when to replace it
The chain is one of the fastest-wearing parts on a bike, and a neglected chain takes other parts down with it. As a chain’s pins and rollers wear, it gets longer, often called “stretch.” A stretched chain meshes poorly with the cogs and chainrings, shifts badly and wears them out early. Replacing a chain on time usually costs much less than replacing a worn cassette and chainrings along with it.
Keep it clean. Wipe the chain with a rag after dirty rides. When it’s gritty, clean it with a degreaser or chain scrubber and let it dry. Then put a small drop of lube on each roller, spin the cranks, and wipe off the extra with a clean rag, since excess lube just collects dirt. “Wet” lubes hold up better in rain and humidity. “Dry” lubes pick up less dust in dry conditions.
Measure wear. A chain checker drops into the chain and shows whether it has reached a wear limit. Park Tool, a bike tool maker, lists the replacement points below. The last column turns each one into an approximate ruler reading.
| Drivetrain | Replace the chain at or before | Approximate ruler reading over 12 full links (new chain: 12 inches) |
|---|---|---|
| 11-speed or more | 0.5% wear | About 12 1/16 inches |
| 10-speed or fewer | 0.75% wear | About 12 3/32 inches |
| Single-speed | 1.0% wear | About 12 1/8 inches |
A dedicated checker is quicker and easier to read than a ruler, and it’s worth using every few weeks if you ride often. When you replace a chain, buy one made for your drivetrain’s number of speeds, and follow the maker’s instructions for joining it. Many modern chains use a quick link, which is easiest to open and close with quick-link pliers. When a chain, cassette or chainring needs replacing, browse our drivetrain components.
Brake pads: know the warning signs
Brake pads are wear items, and how fast they go depends on weather, terrain and how you ride. Rain, mud and grit wear them down much faster.
- Rim brakes: Many pads have grooves molded into them. Once the grooves are worn away, it’s time for new pads. Pick out any embedded grit or metal, and make sure each pad meets the rim squarely and never touches the tire.
- Disc brakes: Look into the caliper with a flashlight, or remove the wheel and pads. Each brake maker lists a minimum thickness. SRAM, for example, recommends inspecting pads every month and replacing them when the pad and its backing plate together measure 3 mm or less. Check more often if you ride in wet, sandy or muddy conditions.
- Keep them clean: Oil or lube on rotors and pads can badly reduce braking. Never spray lube anywhere near your brakes.
Replacement pads must match your brake model, so check your brake’s manual for the right pad before ordering from our bike brakes section. On hydraulic brakes, a lever that feels spongy or pulls close to the bar usually needs a bleed or an inspection. That’s a good job for a bike shop if you haven’t done one before.
Tires: pressure, tubes and tubeless
Pressure. The recommended pressure range is printed on the tire sidewall. Stay inside it, and never go above the maximum set by your rim or wheel maker. Hookless rims in particular have lower limits than many riders expect. Within that range, heavier riders and smooth pavement generally call for more pressure, and rough or loose surfaces for less. Tires slowly lose air, so a floor pump with a gauge is one of the most useful tools you can own.
Tubes. A traditional inner tube is simple and cheap to fix: a patch kit and tire levers get you rolling again. Carry a spare tube that matches your tire size, which is printed on the sidewall, and your valve type: Presta (narrow, with a small lock nut) or Schrader (the same style as a car tire).
Tubeless. A tubeless setup needs tubeless-ready rims and tires, airtight rim tape, tubeless valves and liquid sealant. The sealant plugs small punctures as you ride. It does need upkeep, because sealant dries out over time. One sealant maker recommends topping it up every two to seven months, depending on the temperature and humidity where you ride. Don’t try to force parts that aren’t tubeless-compatible to work tubeless. Many riders still carry a spare tube in case a cut is too big to seal.
Replace tires that show cuts, bulges, threads showing through, or tread worn flat. Browse replacements in our bike tires section.
Cables and housing
If your bike uses cable-operated shifting or brakes, the cables matter as much as the parts they pull. Frayed, rusty or dirty cables and kinked housing add friction. You’ll notice it as slow, hard or inconsistent shifting, or brakes that feel gritty and slow to return. Replace a cable that is rusty or frayed, and replace the housing too if it is kinked or damaged. After new cables go in, expect to adjust your shifting.
Electronic shifting and hydraulic brakes skip the cables but add their own checks. Keep batteries charged and follow the manufacturer’s service schedule.
A small home tool kit
You don’t need a pro workshop. This short list covers most routine jobs; our bike tools and maintenance section is a good place to start.
- A floor pump with a gauge that fits your valve type
- A set of hex (Allen) keys, plus Torx keys if your bike uses Torx bolts
- Tire levers, a patch kit and one or two spare tubes, or sealant and a valve-core tool if you run tubeless
- A chain checker, chain lube, degreaser, brushes and clean rags
- A chain tool, quick-link pliers and a spare quick link
- A torque wrench, especially for carbon parts, which often have torque limits printed on them
- For rides: a mini pump or CO2 inflator, a multi-tool, a spare tube and tire levers
Know when to hand it off. Hydraulic brake bleeds, wheel truing, suspension service and bearing work are best left to a bike shop unless you have the tools and the experience.
Fall and winter riding
Shorter days, wet leaves and salty roads change the routine.
- Lights. Many states require a white front light and a red rear reflector or light after dark. The details vary, so check your state’s rules. Many riders run a rear light in the daytime, too. Browse our bike lights.
- Clean more often. Road grime and salt are hard on chains, cables and bolts. Rinse gently, dry the chain and re-lube after wet rides.
- Switch lubes if needed. A wet lube holds up better in rain. Wipe off the excess so it doesn’t turn into a gritty paste.
- Check brakes more often. Wet grit wears pads fastest.
- Think about grip. Fenders keep spray off you and your drivetrain. Some riders also let a little air out on wet roads for more grip, but stay inside the printed range.
- Ride indoors on icy days with a bike trainer, and keep up with maintenance so the bike is ready for spring.
Before you order replacement bike parts, confirm the details that matter: number of speeds, brake model, tire size and valve type. If something turns out to be the wrong fit, unused items in their original packaging can be returned within 30 days; our returns page has the details.
Frequently asked questions
How often should I lube my bike chain?
Will any chain fit my bike?
Do I need a spare tube if my tires are tubeless?
What tire pressure should I run?
 Outdoor & SnowHow to Pack for a Ski or Snowboard Trip: Bags and ChecklistWhat to check, what to carry on, and which bags make bulky winter gear easier to haul, plus a full checklist for…
 Outdoor & SnowSki and Snowboard Gear Checklist for the New SeasonA pre-season checklist for skiers and snowboarders: tune-ups, binding checks, helmet and goggle advice, layering, and what beginners should rent before buying.
 Outdoor & SnowWinter Camping Checklist: Sleep System, Stove and LayersWinter camping comes down to a warm sleep system, a stove that works below freezing and smart layers. Here is how each…